TIP: Disable Author Pages in WordPress

Introduction

In most WordPress websites the author pages functionality isn’t needed.   For search engines it can create unwanted duplicate links to your content.

There are a few solutions to the problem.  A couple are:  get a plugin or create an author template for your theme / child theme.  I will be showing you how to create an author template.

The Quick Tip

In your theme directory place the following into author.php

<?php

// Disable author pages
// PHP permanent URL redirection
header("Location: /", true, 301);

?>

This does a permanent redirect to your home page.

Conclusion

Its a quick and easy way to get the job done.

Move MySQL or MariaDB Databases To A New Location

Introduction

This quick TIP covers moving Mysql’s / MariaDB’s database storage to a different location.  This example was done on CentOS7.

Moving the Databases

First we need to stop mysql if it is running. Type the following:
> service mysqld stop

Next copy the data to the new location and fix the ownership.
> cp -R /var/lib/mysql /home/
> mv /home/mysql /home/databases
> chown -R mysql:mysql /home/databases

Save the old databases directory.
> mv /var/lib/mysql/ /var/lib/mysql_old

Now we need to take care of the needs of some scripts that may not know the data has been moved.
> ln -s /home/databases/ /var/lib/mysql
> chown mysql:mysql /var/lib/mysql

Next edit /etc/my.cnf.d/server.cnf to look like the folloeing

[mysqld]
 #datadir=/var/lib/mysql
 #socket=/var/lib/mysql/mysql.sock
 datadir=/home/databases
 socket=/home/databases/mysql.sock
 user=mysql
 # Disabling symbolic-links is recommended to prevent assorted security risks
 symbolic-links=0

[mysqld_safe]
 log-error=/var/log/mysqld.log
 pid-file=/var/run/mysqld/mysqld.pid

Finally we can restart Mysql. Type the follwoing:
> systemctl restart mariadb

Conclusion

Normally this isn’t done much.  However there are those times when the databases have to be in a different place.

DIY: Build A Four Plant Top Feed Hydroponic Garden

Introduction

This Howto describes building a 4 plant hydroponic garden. The method being used is a top fed drip system. Th nutrient solution flows out the ends of 1/4 inch tubing.

Parts List

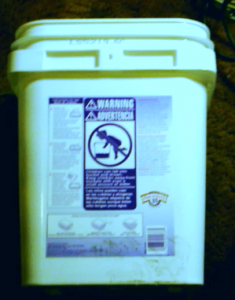
*A square bucket with lid. (my container is from cat litter. approx 5 gallons)
*A 105GPH fountain pump
*5 feet of 1/4 inch drip tubing
*3 1/4 inch barb tees
*6 small zip ties
*4 net pots
*1 pound of expanded clay rock
*An Air pump (optional)
*Small air stone (optional)

Construction

Start by collecting all the required parts.


Our bucket before we get started


The net pots we are using

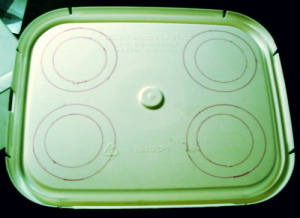
The major part of this project is cutting the holes in the lid. Below you’ll see the holes drawn on the lid for the net pots.


Lid marked up showing where the net pots will go.


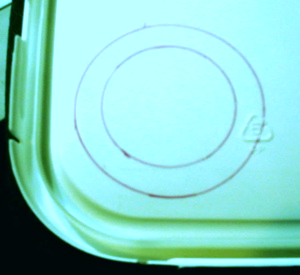
Close up view.

The picture below shows the constructed garden. a 1/2 inch hole needs to be drilled in the center. You can see the tee centered above it. This hole also acts as a drain hole. A one inch hole needs to be drilled for the pump power cord. The 6 zip ties require 2 small holes each. The main tubing connecting the pump should be cut so the pump just rests on the bottom of the container.


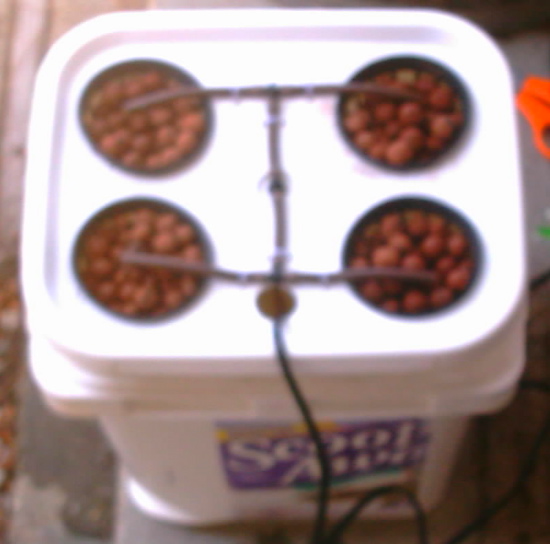
The completed garden before planting.

Nutrients

For the first time grower and a system this size a one part nutrient mix is best.  There are a few choices on the market.  Be sure to use one for hydroponics.  I use ‘Super Natural Gro Terra’.

The other item to be concerned with is PH. My city water comes complete with dissolved solids. The big one being calcium bicarbonate.

Replace the nutrient every 1 to 2 weeks.  For a small system this is the easiest way to keep everything in check.

Buy The Meters

After having the garden for 2.5 weeks my meters arrived in the mail. They will make a difference on the success of your hydroponic garden.

You’ll need one or more meters that take the following measurements:
* PH
* EC
* temperature

My city water has an EC value of 450uS and a ph of 7.5. After mixing the nutrient solution the EC value was 2100uS and a ph of 6.4.

Planting

I planted the following Plants.

* Cilantro
* Sweat Basil
* Sweat Marjoram
* Rue

The plants were bought at Home Depot. The plants were removed from their containers and the dirt rinsed off. Don’t buy plants that are root bound.

Conclusion

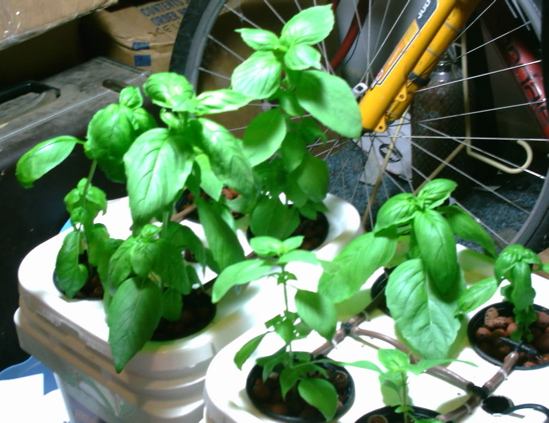
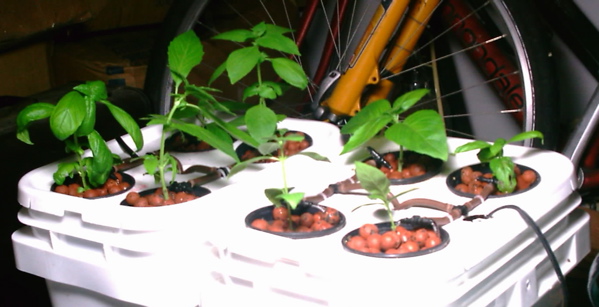
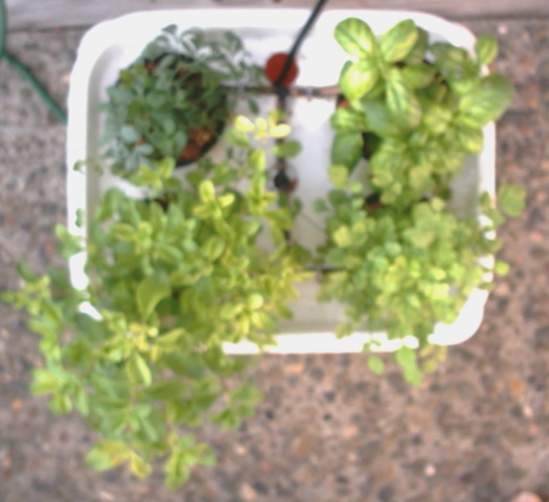
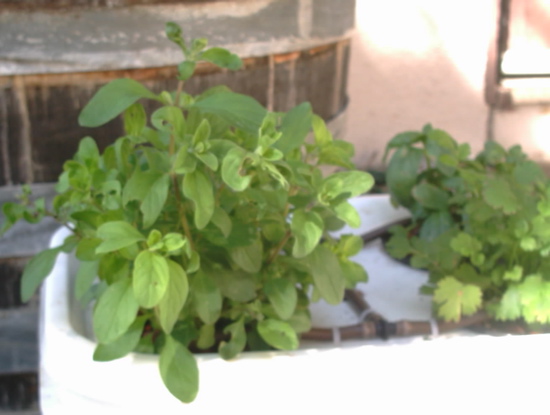
This garden should provide years of fun. This a great starter setup. Good Luck with your garden. Below are pictures from growing in the buckets.

Customizing a WordPress Theme By Creating a Child Theme

Introduction

Sooner or later you will want to customize a theme that you are using.  You have up to 4 possibilities.  They range from easy to complex.

First, many themes and the WordPress customizer provide many options for customizing a theme.  This is one of the easiest ways to customize a theme.

Second,  look for a plugin.  This is also an easy solution.  The challenge, find a plugin.  It may take several plugins to get what you want.

Third, create a child theme.  This is a big step compared to the first two choices.  You will need to be familiar with HTML, CSS and PHP.

Forth, create your own theme.  The most complex choice of the four.  If you don’t have the skills needed for web development then this isn’t the choice for you.

In this tutorial I’m going to focus on option three.  I’m using the Twenty Eleven theme.  Its an older theme but does what I want.  I started with the customizer.  I finally needed a change that a child theme could easily handle.

The example below will start with the Twenty Eleven theme.  So lets get started.

Creating a basic child theme

We are going to create a feature packed child them.  The theme won’t do a thing.  This will be the easiest child theme for you to create.

  1.  Create a directory named “MyChildTheme”.
  2. Create an empty text file named “functions.php”.
  3. Create a text file named “style.css” with the following text.
/*
Theme Name: MyChildTheme
Author: You
Description: 2011 child theme for WordPress
Author URI: yourdomain.tld/
Template: twentyeleven
*/
 
@import url(../twentyeleven/style.css);

That’s it.  You now have a fully functional child theme that does nothing.

Adding your custom CSS

I also over rode some of the CSS in the parent theme.  Since my CSS is simple, I added it to my theme’s style.css file.  Add the following CSS to the end of the file.

pre {
  border: solid 1px #111111;
  font-size: 1.3 em;
  color: #001100;
  margin: 10px;
  padding:10px;
  background: #D3D3FF;
}
#main {
  font-family: arial;
  font-size: 1.1em;
}
body {
  background-color: red;
}

The style.css file should look like the following.

/*
Theme Name: MyChildTheme
Author: You
Description: 2011 child theme for WordPress
Author URI: yourdomain.tld/
Template: twentyeleven
*/
 
@import url(../twentyeleven/style.css);

pre {
 border: solid 1px #111111;
 font-size: 1.3 em;
 color: #001100;
 margin: 10px;
 padding:10px;
 background: #D3D3FF;
}
#main {
 font-family: arial;
 font-size: 1.1em;
}
body {
 background-color: red;
}

Adding the side bar to single posts

When you are reading a post like this one the twenty eleven theme doesn’t have a sidebar.  In my child theme I put them back.

  1. Copy page.php and single.php from the twenty eleven theme to your child theme folder.
  2. Open the functions.php file and paste the following.
    <?php
    add_filter('body_class', 'fix_body_class_for_sidebar', 20, 2);
    function fix_body_class_for_sidebar($wp_classes, $extra_classes) {
     if( is_single() || is_page() ){ 
     if (in_array('singular',$wp_classes)){
     foreach($wp_classes as $key => $value) {
     if ($value == 'singular') 
     unset($wp_classes[$key]);
     }
     }
     }
     
     return array_merge($wp_classes, (array) $extra_classes);
    }
    ?>
  3. Open single.php and place the following
    <?php get_sidebar(); ?>

    on the line before

    <?php get_footer(); ?>
  4. Open page.php and place the following
    <?php get_sidebar(); ?>

    on the line before

    <?php get_footer(); ?>

Conclusion

A child theme can be basic or complex.  Best part is it provides a nice way to customize a theme.

Notes: Wiring an 8 Wire Stepper Motor

Introduction

I’ve been working on a project that required 3 stepper motors. Well Ebay is the best place to get them cheap. Not many of them are 8 wire these days.

Superior Electric M061-FD-6102 Specifications

Leads: 8
Voltage: 11.2V
Current: 0.44A
Step: 200/rotation

Wiring diagam


drive 1 ---------[red]-----)   (-----[green]------------ drive 4
                           )   (
                           )   (
          |----[black]-----)   (-----[orange]--------|
     +V --*                  0                       *-- +V
          |----[white]-----)   (-----[white/black]---|
                           )   (
                           )   (
drive 2 ---[white/red]-----)   (-----[white/green]------ drive 3