Introduction
Do you want to grow tomatoes but you don’t have a lot of room. Then container gardening is for you. I’m going to cover what we have found to work. I’m not going to cover common tomato plant disorders. However I will cover what can happen when growing in containers.
Choosing A Container
You have a lot of container choices. Choose a container that allows the roots to grow deep. The bigger the container the better. We now use wine barrels for our plants.
What soil to use
For tomatoes you’ll need a well draining soil. You don’t want soggy soil. The best soil mixes to use are made for raised beds. Mixes with coco coir work very well.
Container Drainage
If you are not careful you will drown your plants. It is critical that your container has plenty of drainage holes. Our containers have more holes then swish cheese. Drill plenty of holes in your container. When you think there are enough holes then keep drilling. We used a 1/4 inch drill bit for our holes.We learned this the hard way our first year. Our tomato plants were wilting towards their demise. We supported the container with its plant in mid air and drilled more holes. Lucky for us that brought the plants back to life.
Watering
Tomatoes need a lot of water. When placed into containers they may need more. Plant and container size determine how much and how often you need to water.
Tip #1: Each time you water be sure the container drains. You want to see water on the ground. When the plant is large harmful amount of salts can collect in the soil. Heavy watering helps remove these salts.
Tip #2: Water your plants mid day. This will cool off the roots. You like a cool drink on a hot day and so do they.
Tip #3: Let the soil tell you when to stop watering. When you first start to water the soil will soak up the water rapidly. When the soil soaks up the water slowly and drains then you are done.
Other Tips
Tip #1: Boy its hot out here. When in containers tomatoes can’t take high temperatures. When the day time highs go above 80 degrees its time to move them to a shady spot. The plants will start wilting in the sun. If the plant transpires to rapidly then blossom end rot could occur.
Tip #2: You did give your containers wheels didn’t you? Do yourself a favor, put wheels on those large containers. This tip is for your back.
Pictures

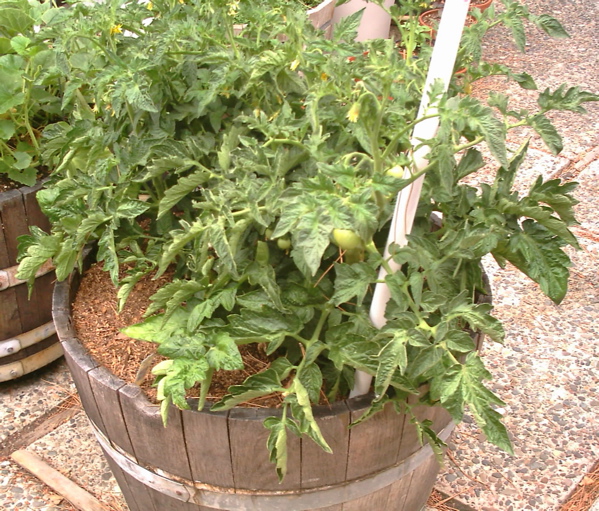
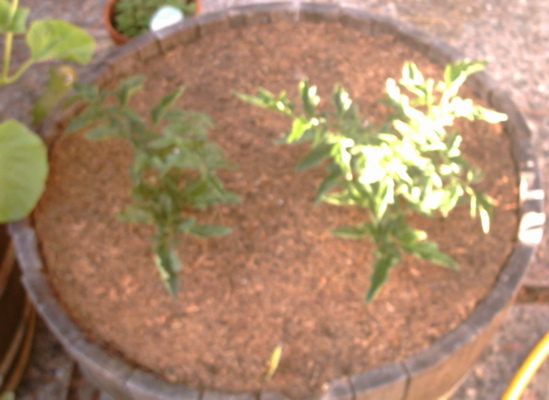
The tomatoes when first planted

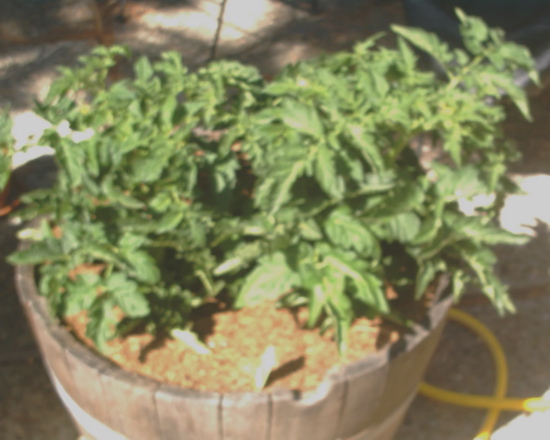
The tomatoes 2 weeks later.

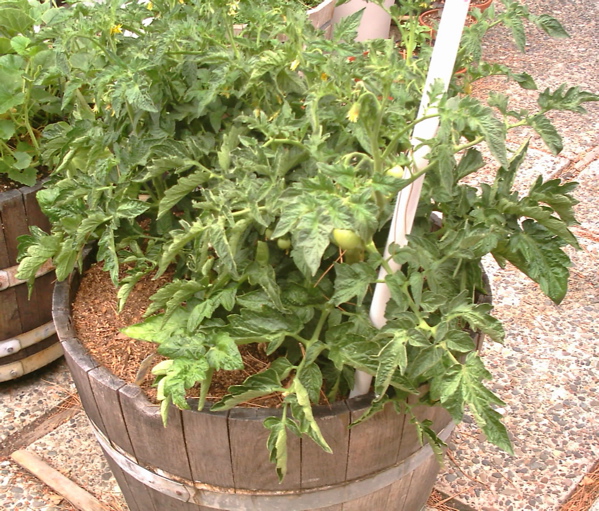
The tomatoes 5 weeks from being planted.
The Final Word
With a little TLC you can grow plenty of tomatoes in containers. With today’s selections its easier then ever to find a plant that will work in a container you have.


